
Latte Art Guide
In the realm of coffee connoisseurship, latte art has emerged as the apex of consummate skill and fastidious craftsmanship. Translated as "milk art", latte art serves as the crowning glory to the sublime delights of the coffee experience. Expertly patterned designs rendered on the frothy surface of the latte can metamorphose a customary coffee indulgence into an exclusive, sensory encounter. Today, no coffee, in discerning cafés, is served without an artfully crafted motif of a heart or leaf etched on it.
This article aims to offer tips and a detailed step by step guide to drawing a heart and a leaf on the crema of your coffee.
Sucessfactor the Foam

Creating latte art motifs such as the heart or leaf commences with carefully crafting the milk foam. Achieving the perfect consistency of the milk foam is quintessential - the foam should not be overly robust or voluminous, but akin to a fine-pored, slightly creamy "microfoam". To achieve this consistency, the milk should be frothed until it reaches the perfect degree of creaminess.
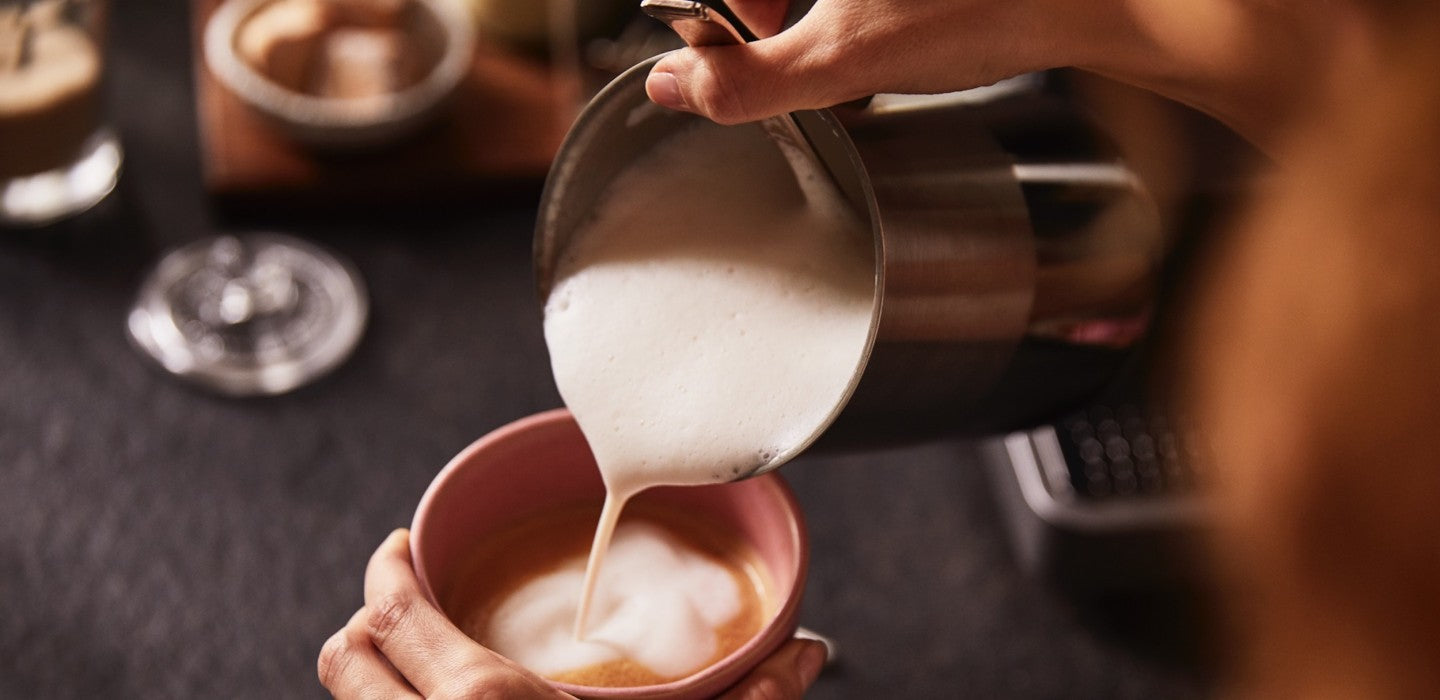
Prompt action is vital at this point as the glorious foam begins to separate into milk and a thick, overlying foam layer approximately 30 seconds after frothing, making it unsuitable for latte art completely. Therefore, the frothed milk should always be poured expediently and evenly into the pre-prepared espresso.
An important factor is the maintenance of an appropriate distance from the cup during pouring, roughly 5 cm is ideal. If the milk is poured from the jug into the cup from a greater height, the milk merely lifts the crema of the espresso and leaves only a small amount of milk foam on the surface. Conversely, pouring considerably close to the surface of the espresso results in the milk foam flowing over the crema, covering the entire surface, thus making it to craft a motif.
Latte Art Patterns:
The Heart: Latte Art for Beginners

 |
 |
 |
| Step 1: Pouring Pour the milk quickly and evenly into the center of the cup from a height of about 5 cm, until the cup is about halfway full. A jug with a narrow spout is recommended to efficiently regulate the amount of milk. | Step 2: Topping Up The next step is to slightly lower the jug and quickly pour the remaining milk. As the milk in the cup rises again, a circular milk foam forms on the crema. |
Step 3: Designing Finally, lift the jug and use the last milk stream to draw a line through the circle. If all goes well, a heart forms on the crema. Congratulations!
|
The Leaf: Latte Art for the Experienced

 |
 |
 |
|
Step 1: Pouring For the leaf pattern, the milk foam should be a bit more fine-pored than for the heart. Similar to the heart, the milk is swiftly poured from about a height of 5 cm into the coffee. Pour the milk at the top of the cup. |
Step 2: Designing the Leaf When the cup is about half full and a milk foam blob forms as in the heart design, lower the milk jug and quickly swing it back and forth in a zigzag motion. Pull the jug backwards at the same time. |
Step 3: Finishing the Leaf When you reach the edge of the cup with the zigzag lines, pull the milk stream up through the pattern once to finish - your leaf is ready! |

Leave a comment
This site is protected by hCaptcha and the hCaptcha Privacy Policy and Terms of Service apply.